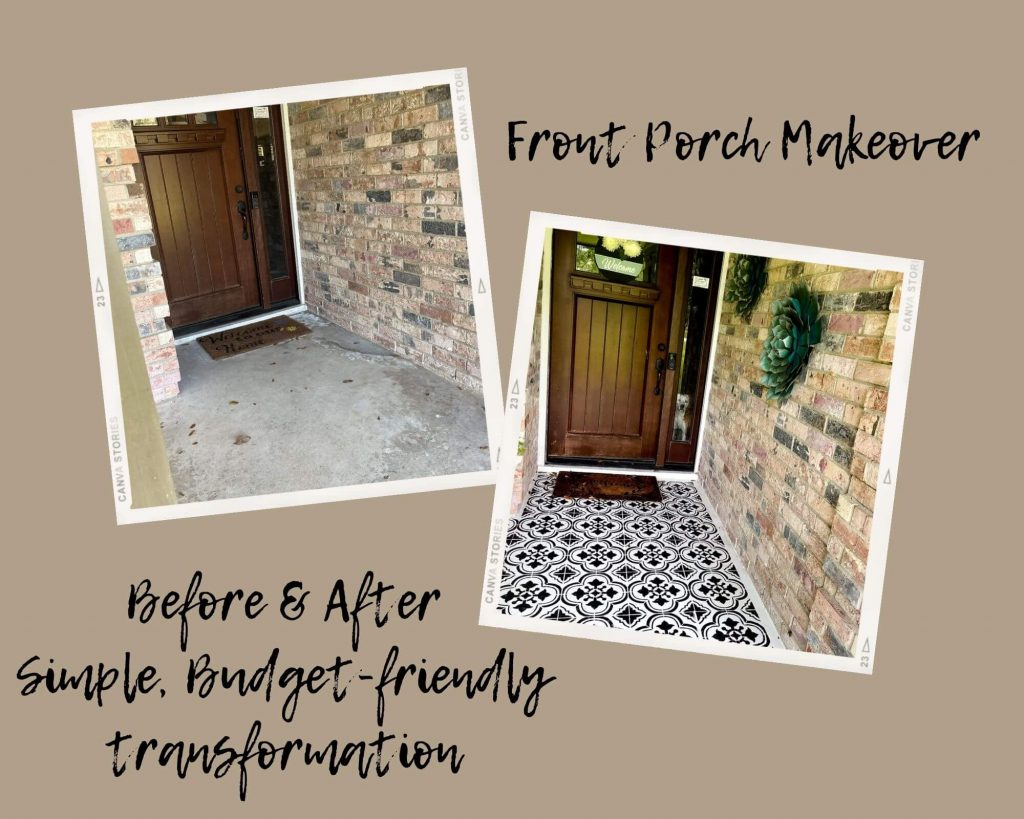
Front Porch Makeover
Simple, budget-friendly transformation
This post may contain affiliate links. If you use these links to buy something we may earn a commission.
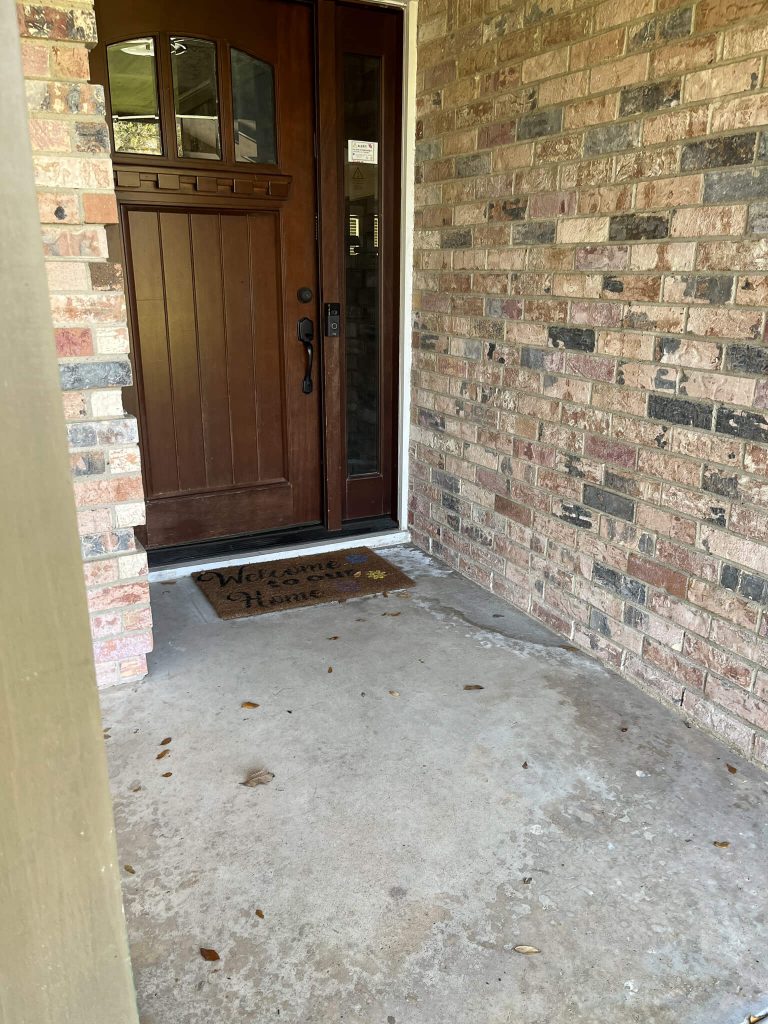
Welcome to my ugly front porch
My front porch was a disaster. I was embarrassed for anyone to come to the front door. A great first impression is not what you got when you came to my house.
I needed to DIY something simple and budget-friendly. I also wanted something that would last. Doing a stencil on the front porch was something I could tackle. I had stenciled a wall in my office. It wasn’t the most incredible job but I learned a lot when trying it for the first time. You can read about that here. You can also see my first-time mistakes so that if you try this, you won’t make the same mistakes that I made.
Choosing my materials
This was going to be easy. I wanted just a simple black and white front porch. I could later add pops of color.
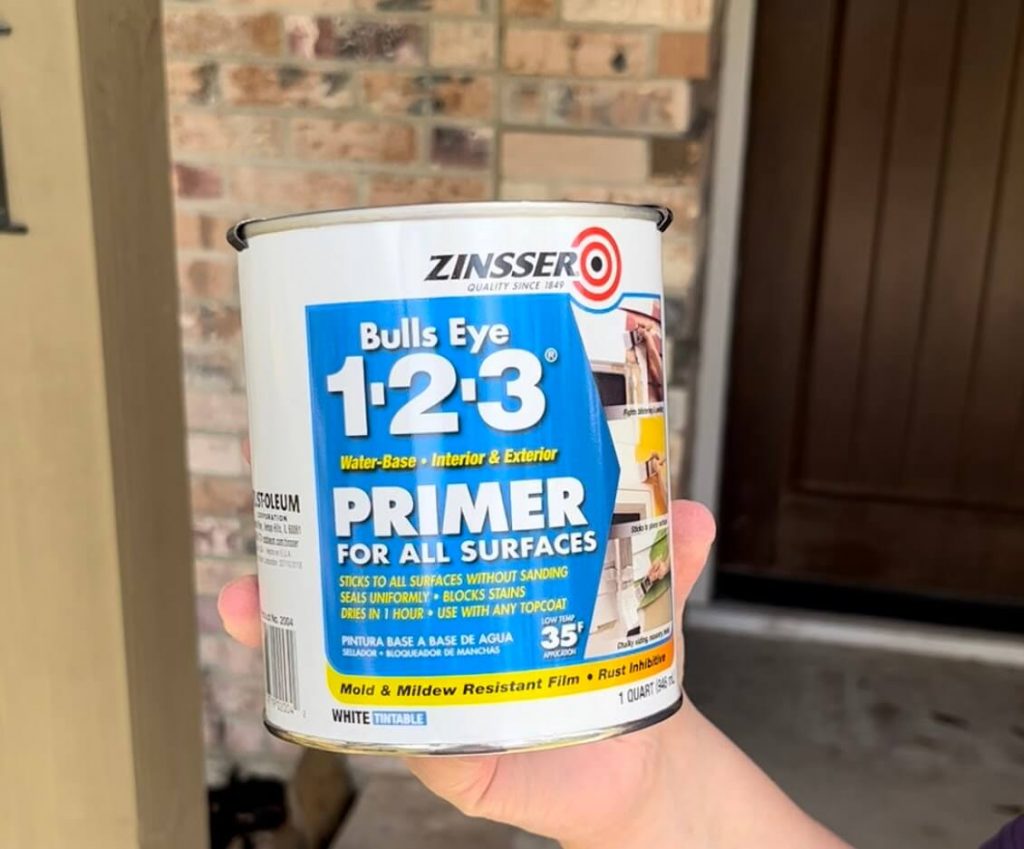
I first used primer to prime the front porch. It is concrete and very porous and I wanted the paint to look bright and not fade by adding it right on top of the concrete.
Materials: Primer – Zinsser Bulls Eye 1-2-3 Primer for all surfaces. Black and white paint were basic flat paint. I also used two coats of clear coat when I was finished.
The stencil I used was the Santa Ana Tile Stencil from Cutting Edge Stencils. There are so many stencils to choose from and they are all wonderful. I did choose the biggest stencil. There are varying sizes to choose from and I found that using a big stencil for this project was much easier than using a small stencil. You cover more ground in less time.
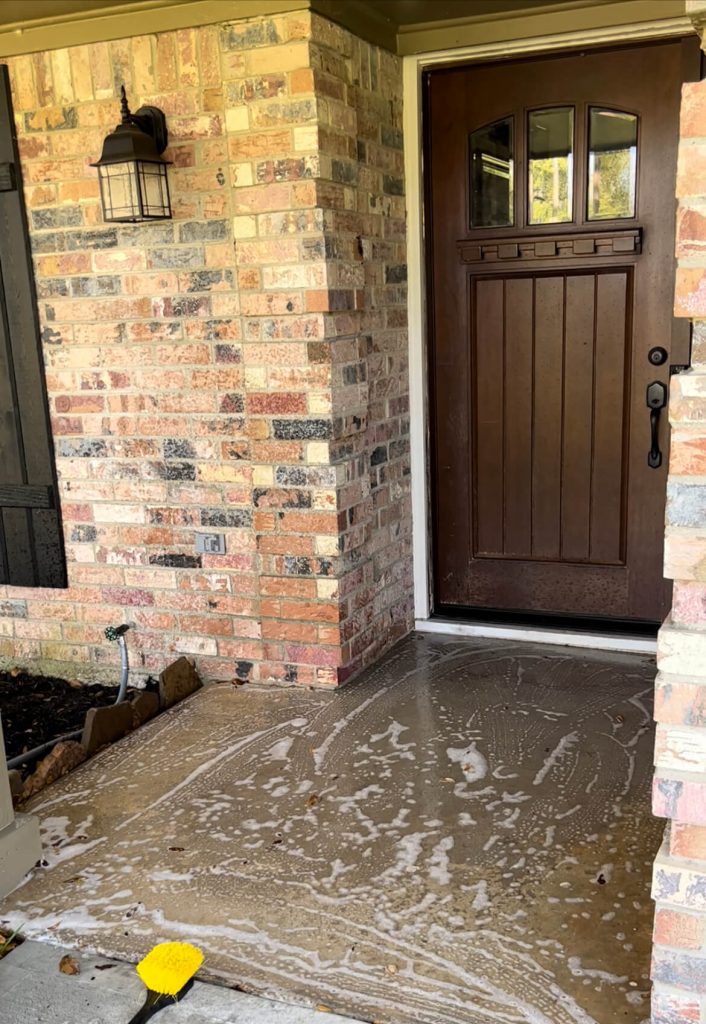
Step One – Clean
Make sure your porch is very clean. We used a de-greaser and then soap and water to clean the porch. The porch was then allowed to dry completely. This is very important. You do not want grease or dirt seeping through your paint and messing up your stencil work. If you have a pressure washer, even better.
Step Two – Prime your porch
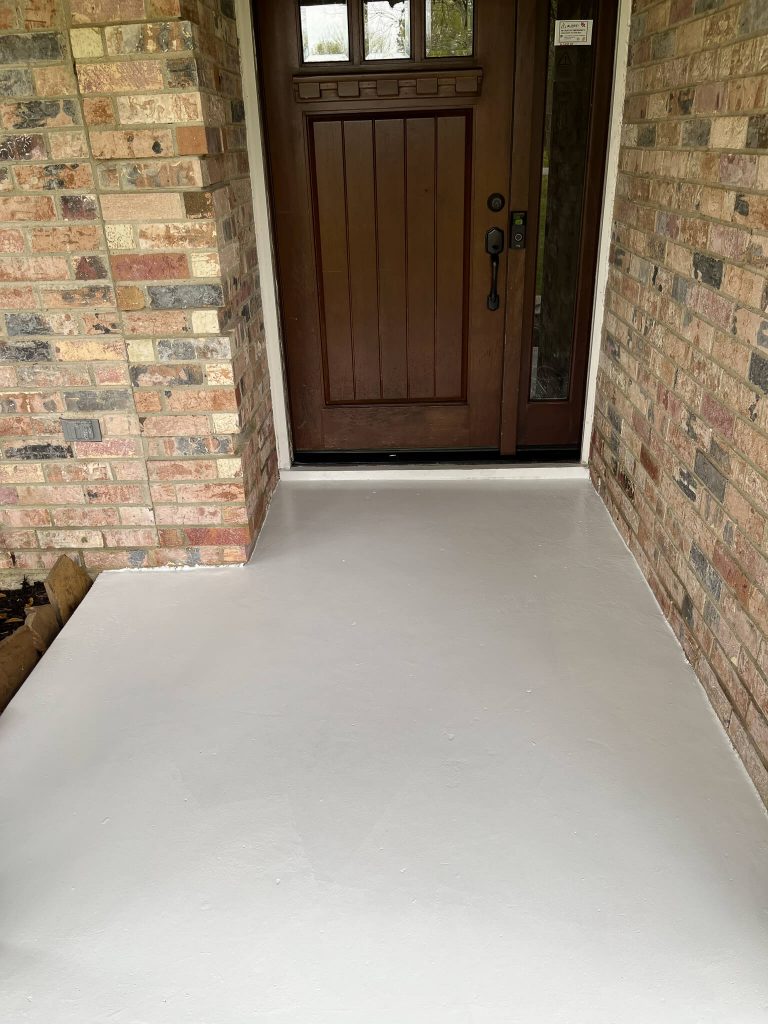
After the porch was completely dry, I used the primer and rolled the primer on the porch. It already looked a million times better just with primer.
Step Three – Paint the porch
Paint the first coat of white flat paint. I did two coats because I wanted to make sure that the color, even though it is white would not fade. I really could have stopped right here because I just loved how clean it looked.
Step Four – Stencil
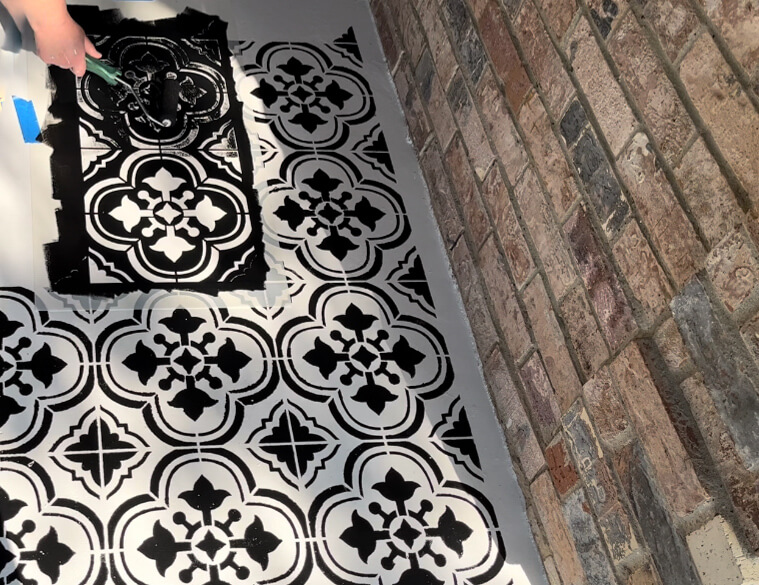
Start to Stencil. Make sure your stencil is square. I had to line it up with the brick wall. There is enough margin on the stencil that the pattern itself did line up. I taped down the stencil with painter’s tape, painted the stencil, and pulled it up. I waited for the paint to dry before moving on to the next stencil. The edge of the stencil has to cover part of the painted stencil. You don’t want this to smear so with flat paint and being outside, the paint dried fairly quickly.
Step Five – Clear coat and be amazed.
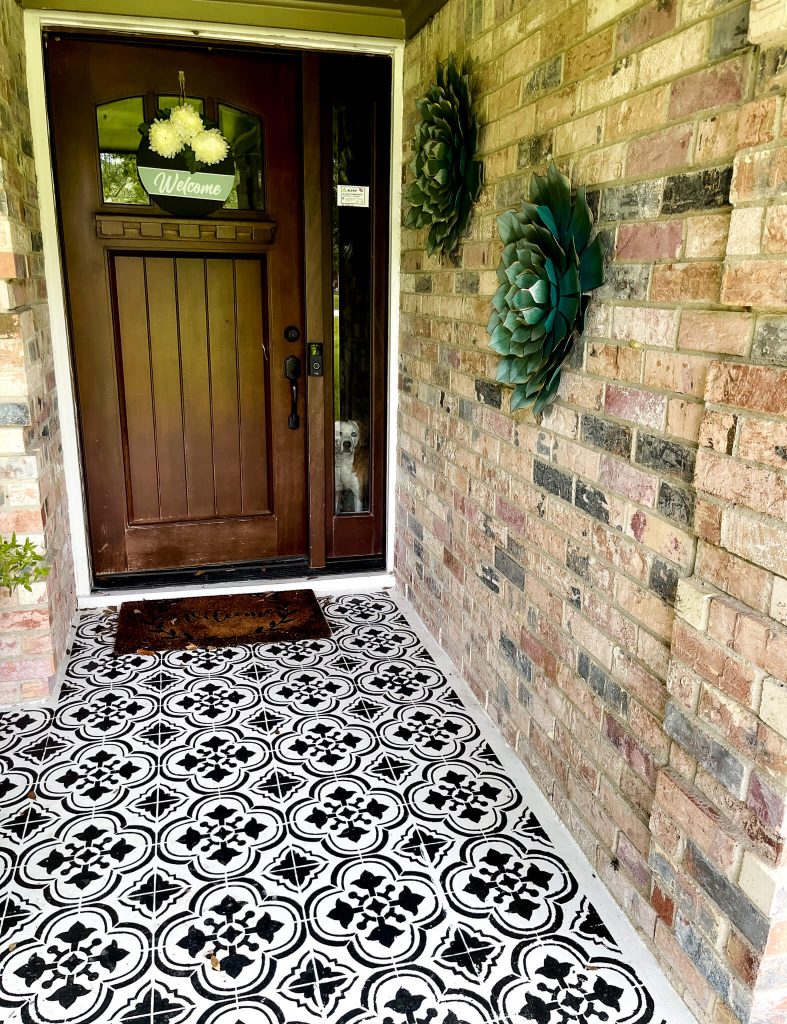
Clear coat the porch after the paint has dried. I put two coats of clear coat. Add your decor and step back and look at your amazing porch. You did this! I know you will love your front porch transformation as much as I do. Even Domino, the dog, loves it!
Ready to start your project?
Go to Cutting Edge Stencils to pick your favorite stencil for your project. You will be glad you did when your simple, budget-friendly project looks like a million bucks!




One Comment