The Art of Making Homemade Dill Pickles
This post may contain affiliate links. If you use these links to buy something we may earn a commission.
Pickles have long been a beloved and tangy addition to meals, adding a burst of flavor and a satisfying crunch. While store-bought pickles are readily available, there’s something exceptional about crafting your own homemade dill pickles. The process is surprisingly simple, and the results are undeniably delicious. We will delve into the delightful art of making homemade dill pickles, sharing a step-by-step guide that will empower you to create your own batch of mouthwatering pickles right in your kitchen.
Step 1: Gather the Ingredients
To embark on your pickle-making journey, you’ll need a few key ingredients:
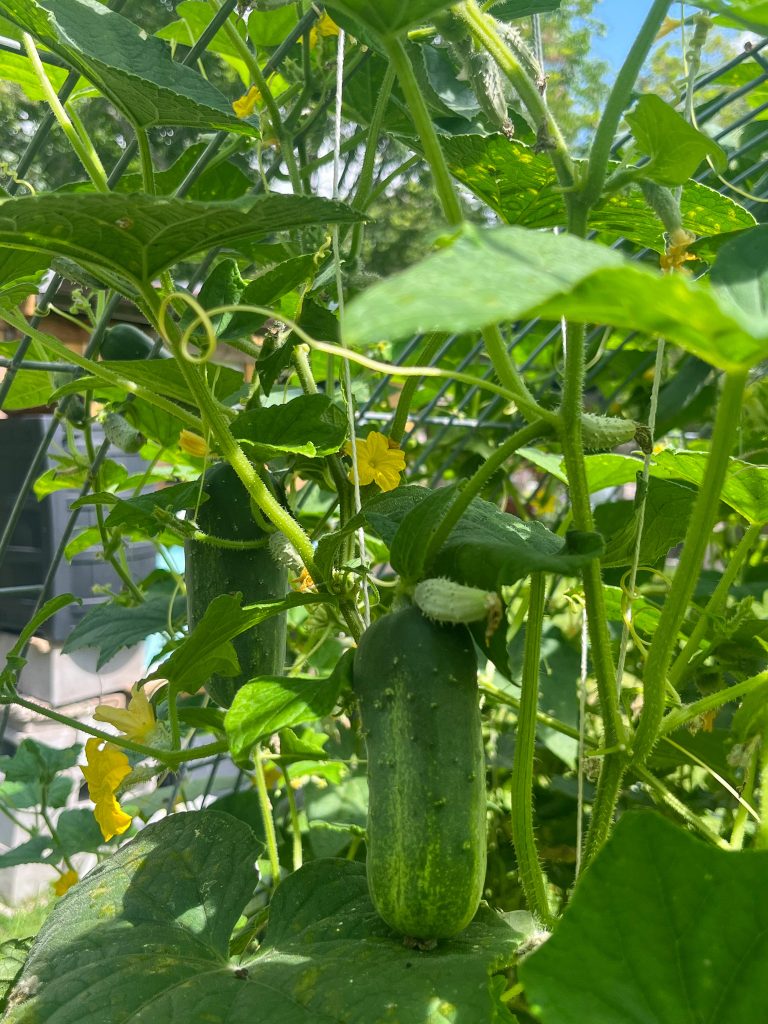
- Fresh cucumbers: Choose firm, crisp cucumbers, preferably the pickling variety. You can find them at farmers’ markets or grow them in your own garden.
- Brine solution: Combine water, vinegar (preferably white vinegar), pickling salt.
- You may add the spices to the brine or directly to the jars. *See the recipe below.
- Fresh dill: Dill is an essential ingredient that gives the pickles their distinctive taste. Depending on your preference, you can use dill leaves, dill seeds, or both.
- Optional ingredients: You can experiment with additional flavors like red pepper flakes, garlic cloves, or even jalapenos to add a spicy kick to your pickles.
Step 2: Prepare the Cucumbers
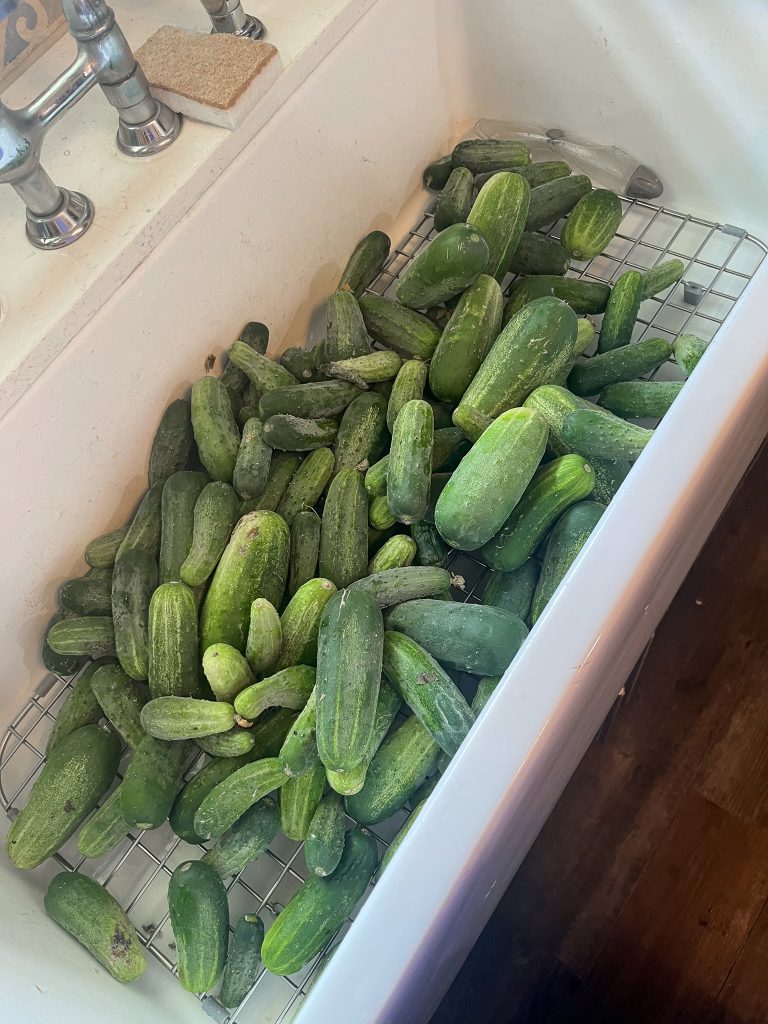
Wash the cucumbers thoroughly and trim off the blossom end, as it contains enzymes that can lead to a less crisp pickle. You can leave the skin on or peel it if you prefer a smoother texture. Slice the cucumbers into spears, or chips, or leave them whole for a classic pickle shape.
Step 3: Create the Brine
In a large pot, combine water, vinegar, and pickling salt. Bring the mixture to a gentle boil, stirring occasionally until the salt dissolves completely.
Step 4: Sterilize the Jars
While the brine is coming to a boil, prepare your canning jars by washing them with warm soapy water or run them through the dishwasher before this process. Sterilize the jars and their lids by placing them in a pot of boiling water for a few minutes. Remove the jars using tongs and let them air dry.
Step 5: Pack the Jars
Add the spices listed in the recipe to the jar and then pack the sterilized jars tightly with the cucumber spears or chips. Add a few sprigs of fresh dill and any other optional ingredients you desire. Fill the jars almost to the top, leaving a little headspace for the brine.
Step 5: Pour the brine
Carefully pour the hot brine into each jar, ensuring that the cucumbers are completely covered. Leave about 1/2 inch of headspace. Gently tap the jars on the counter to release any air bubbles and adjust the brine level if needed.
Step 7: Seal and Store
Wipe the rims of the jars with a clean cloth to remove any spills or residue. Place the sterilized lids on top and screw on the bands until they are snug but not overly tight. Process the jars in a hot water bath for about 10 minutes to create a proper seal. Remove the jars and let them cool to room temperature.
Step 8: Patience is Key
Although it may be tempting to dive into your homemade pickles right away, exercise patience and allow them to pickle for at least a week or two before opening. This waiting period allows the flavors to meld and develop. **I actually wait at least FOUR weeks.
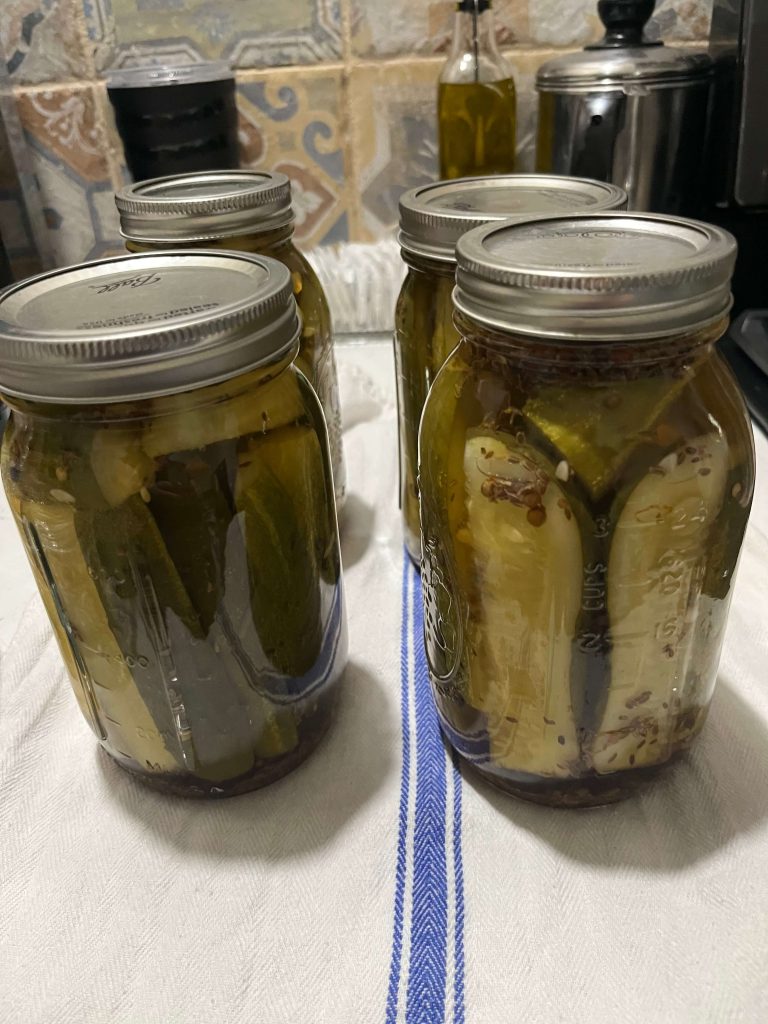
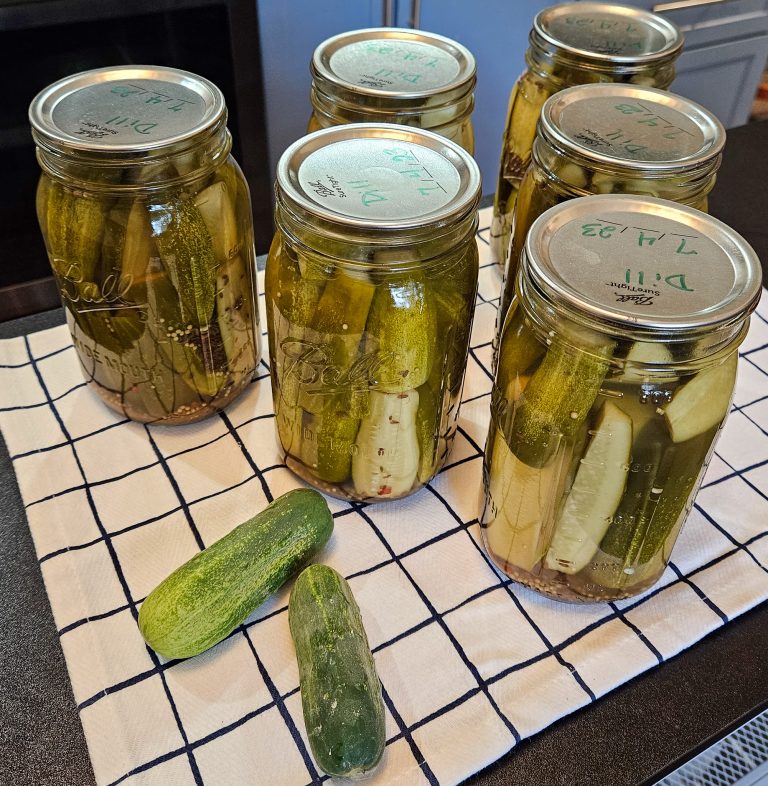
The Art of Making Homemade Dill Pickles
This recipe makes six-quart jars of crunchy cucumbers brined in vinegar, garlic, and dill for tangy, flavorful homemade dill pickles.
- Total Time: 1 hour
- Yield: 6 Quarts 1x
Ingredients
6 pounds of pickling cucumbers
Brine
- 12 cups Water
- 6 cups White vinegar
- 6 TBSP pickling salt
Spices
- 1 TBSP dill seed (if using fresh dill, use four heads)
- 8 Whole black peppercorns
- 1 Bay Leaf
- 1/2 TSP Mustard seed
- 1/4 TSP of Pickle crisp
**Optional
- 1 Clove garlic
- 1/2 TSP Red Pepper Flakes
- 1 Jalapeno
Instructions
- Measure out six pounds of cucumbers.
- Wash the cucumbers thoroughly and trim off a small portion of each end.
- In a large pot, combine water, vinegar, and pickling salt. Bring the mixture to a gentle boil, stirring occasionally until the salt dissolves completely.
- Prepare your canning jars by washing them with warm soapy water or run them through the dishwasher before this process.
- Sterilize the jars and their lids by placing them in your water canner bath pot of boiling water for a few minutes. Remove jars to be packed.
- Pack the jars. Add the dill seed, black peppercorns, and bay leaf to the jar, and then pack the sterilized jars tightly with the cucumber spears or chips. Add a few sprigs of fresh dill and any other optional ingredients you desire. Add the pickle crips. Fill the jars almost to the top, leaving a little headspace for the brine.
- Wipe the rims of the jars with a clean cloth to remove any spills or residue. Place the sterilized lids on top and screw on the bands until they are snug but not overly tight.
- Place all jars back into the water canner bath. There should be one to two inches of water above the jars.
- Have water come to a boil. After the water is boiling, then you start the timer. Let it boil for 10 minutes. This is required to create a proper seal.
- After 10 minutes, turn off the heat. Let sit for 5 minutes. Remove jars and let them sit for 24 hours. This gives the jars time to seal and cool off.
- Wait at least two weeks to eat.
Notes
The longer you store your dill pickles the stronger the taste. Most recommend waiting two weeks, I wait at least four weeks.
Pickle crisp can be bought premade at most stores that sell canning supplies.
- Prep Time: 40 minutes
- Cook Time: 10 Minutes
- Category: Preserving
- Method: Canning
See More Pickling Recipes!
Until next time,
Kari


