My Small Closet Makeover
How I Made My Small Closet Bigger
A few years ago we moved into an older home. It is a great house on one acre. We couldn’t ask for more…well, except for a larger closet. The problems with older homes is a lack of storage space and smaller closets. My house was built in 1971 and believe me when I say the closets are small.
Our closet is about 6X7 and not much room for anything let alone close. Think about that. You could probably hold your arms out and almost touch wall to wall. I hardly had enough room to back up to take the pictures of this closet.
The house we lived in before had a huge closet and I had plenty of room. It was full so moving to a house with a small closet was no easy task. We just had to find a way to make it work.
All this new closet had was two hanging rods and some shelves. This was the master closet and was supposed to hold all the clothes for both my husband and myself. So the task of making our closet working for us began. Yes, I said “us” because I share this with my husband. How crazy is that?
Help! My Closet Is So Small!
We left the bookshelf but removed everything else in the closet. All the old shelves with hanging rods came down. These came down so we could raise the shelves and add an additional lower shelf.

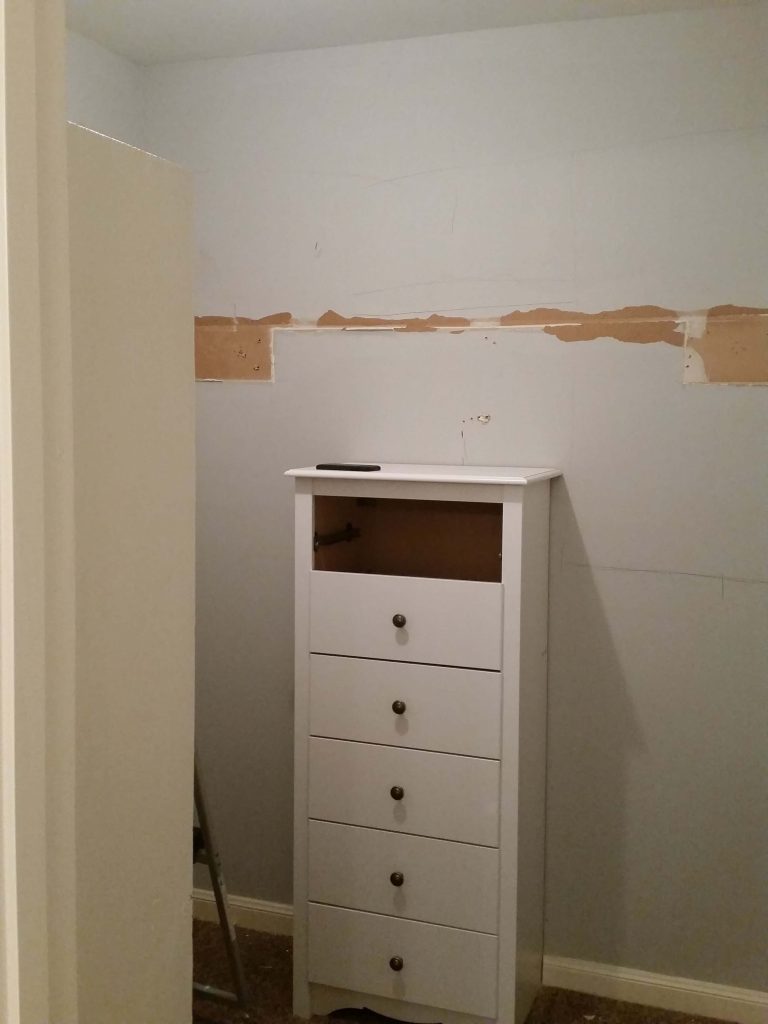
As small as the closet was, I wanted a small chest of drawers built-in. I wanted this closet to store all of my clothing. Needless to say, this gave me a great chance to purge my wardrobe. I got rid of clothes that I had for years, that I didn’t wear, that were just taking up space. After looking everywhere for a small chest of drawers and reading a lot of reviews, I found what I was looking for. This was the first thing we put in the closet. It was attached dead center to the back wall of the closet. All other components of the closet will be attached and built around the chest of drawers.
Now it was time to start building. The first thing we did was make a top-shelf that was 12 inches from the ceiling. This would be plenty of room for baskets or cubbies. This self went around three walls.
The bottom shelf was the next shelf to be installed and it was also installed around the same three walls except for a 12-inch section in which longer clothes could hang without getting bunched up on a bottom shelf. This lower section will also hold the bottom rod for clothing, such as pants and short clothing.
After both shelves were installed a vertical section of wood was installed on the end of the shelves. The closet is so small and I needed something to sort of block my clothing and make a nice, clean look to the closet.
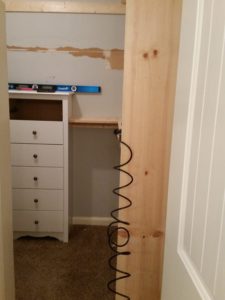
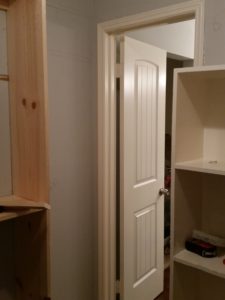
We made the dresser section of the closet sturdy by attaching two boards to each side. This was also to leave a section where clothing would not be stored. I wanted this compartmentalized. It also served a middle brace for the upper shelf.
The Finished Look
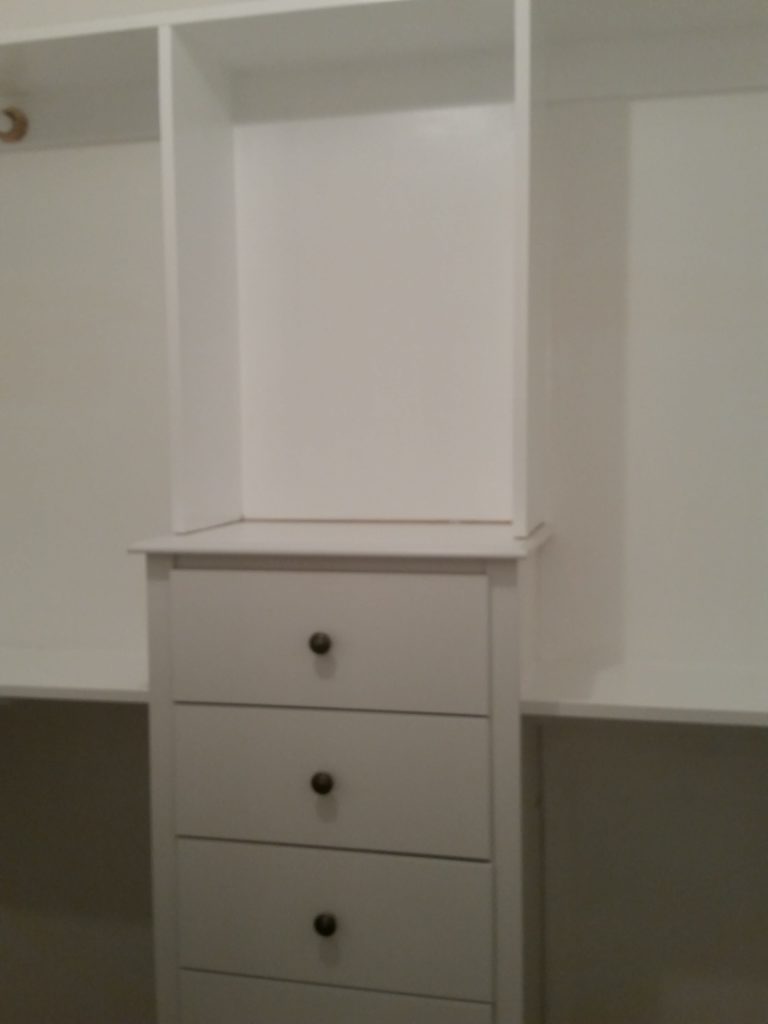
Finally, after the dowels were attached, the closet was painted a high gloss white to make it look bigger.
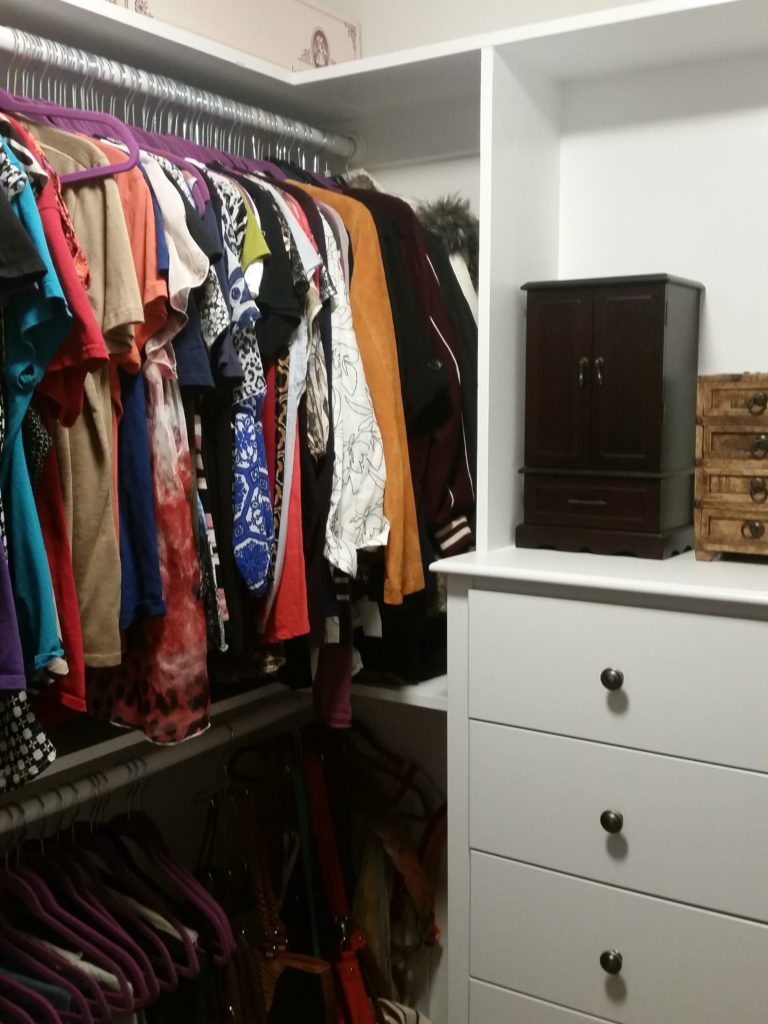
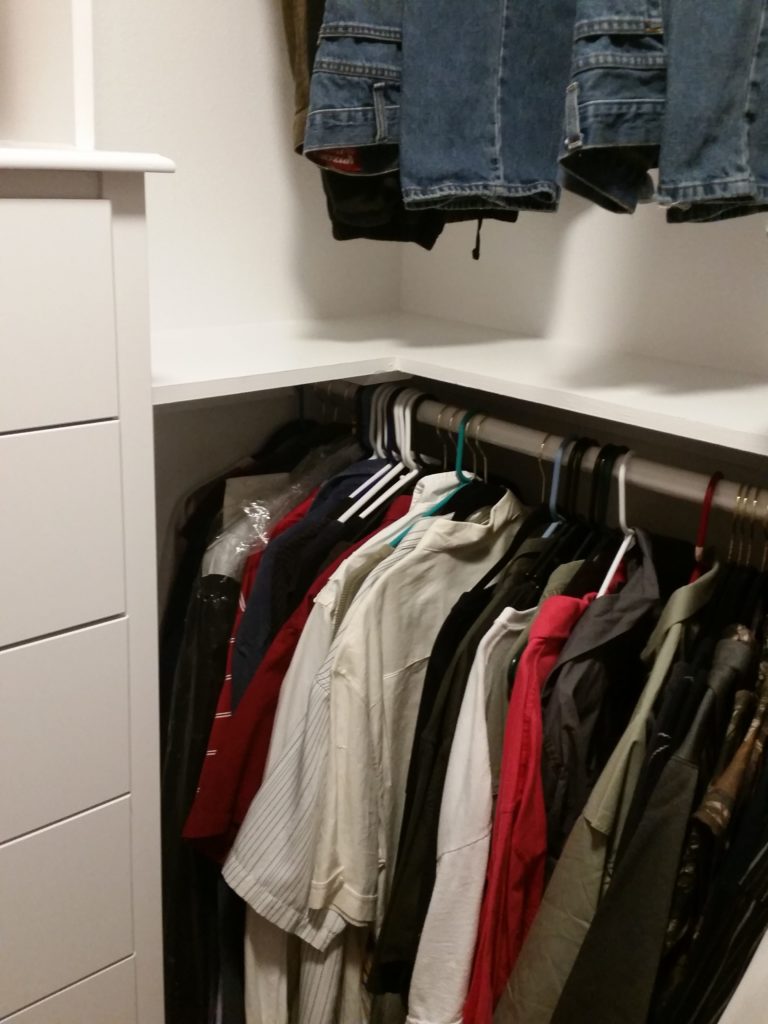
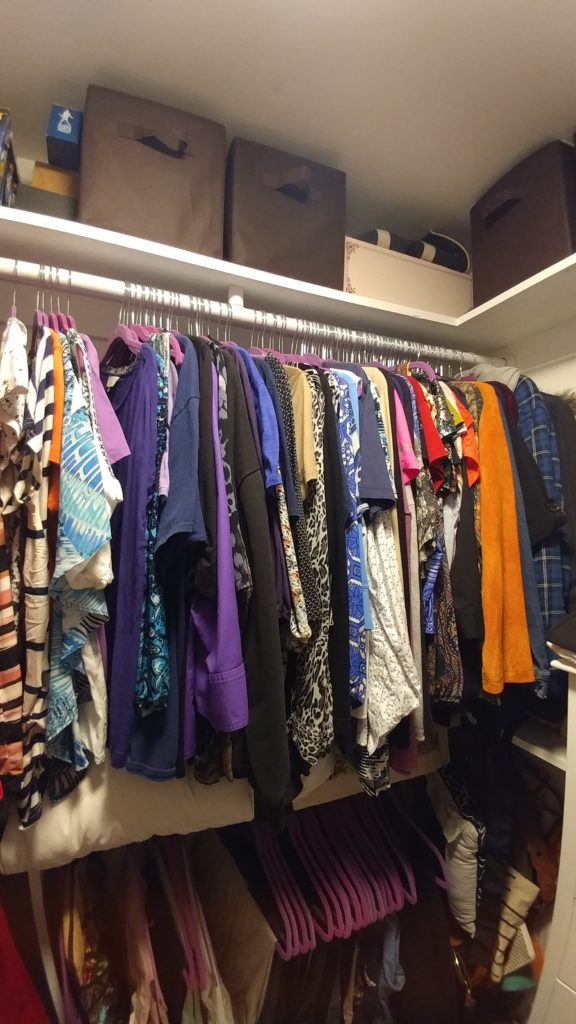
The original bookshelf became a place to store boots and shoes and the bottoms shelves used to store other stuff that I wanted but don’t need often.
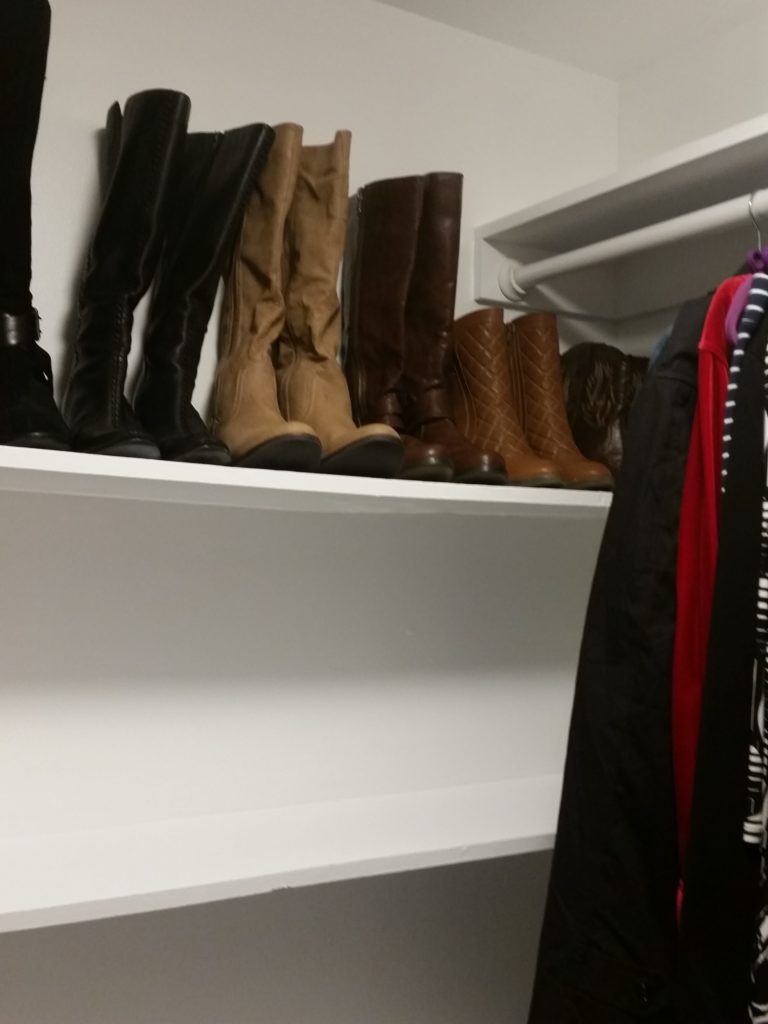
Adding an upper and lower shelf gave me two extra hanging rods. I now have four rods instead of two. The shelves gave a lot of extra surface space for storage. My space has doubled. Remember, we left the original bookcase so all that room was used for shoes and boots and scrapbooks and boxes and whatever else I could think of.
Small Closet to Small Organized Closet
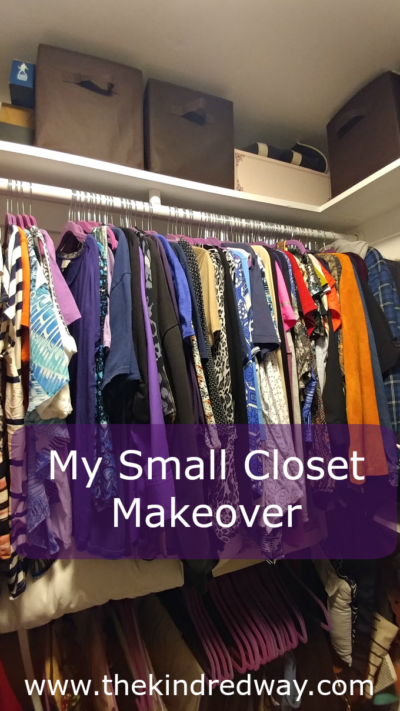
What we started out with was a small closet with one shelf and a bookcase. After the transformation, we now have two shelves going around three walls. One shelf is a top-shelf and one is a lower bottom shelf. The amount of clothes to hang has just doubled. The top shelf allows us to store big boxes or things that don’t hang. The top shelf has a dowel or closet rod so now we can hang clothes. A small dresser has been added with extra storage above. The amount of storage with the right organization can give you a place for all your belongings. Organization is the key.
The closet is so much better now. It didn’t cost that much to improve the space. It is awesome.
Until next time,
Kari




How did you do the 3 wall shelves? Did you build with boards from the lumber dept or was it a pre made kit?
Hi Alicia! This was not a pre made kit. We had to purchase the boards. Each wall was a different measurement. If you want any other info, please reach out.